Development
Machines deployment
In the Quick start section we have seen how to deploy a
manager virtual machine. The development system is currently made
of only the manager virtual machine. In the future some machines could
be added to the deployment procedure. To deploy all of them, it is sufficient
to pass to the discos-deploy script the discos cluster instead of
a single machine name, the discos keyword always identifies the whole
environment, so it will install all the machines found in the corresponding
Ansible inventory.
$ discos-deploy discos:development
This command will connect via SSH to all development machines and provision the whole system (create users, configure networking, install yum packages, configure NIS, Lustre, ACS and its dependencies, install some utilities, and finally the DISCOS dependencies).
Working without Vagrant
If you wish to deploy a development environment on physical machines, or you
simply want to install the virtual machines by yourself using VirtualBox or
another virtual machine provider, you can still use the discos-deploy
script to perform the automatic deployment procedure. You first have to setup
the machines’ network interfaces, in order to enable Ansible access to them via
the correct IP address, and then start the deployment procedure by passing the
--no-vagrant, -n flag to the discos-deploy script:
$ discos-deploy manager:development --no-vagrant
This will let the script know that you do not want to create any (other) virtual machine on your system, and that you want to apply the whole configuration onto an existing, physical or virtual, set of machines.
DISCOS setup
Manual setup
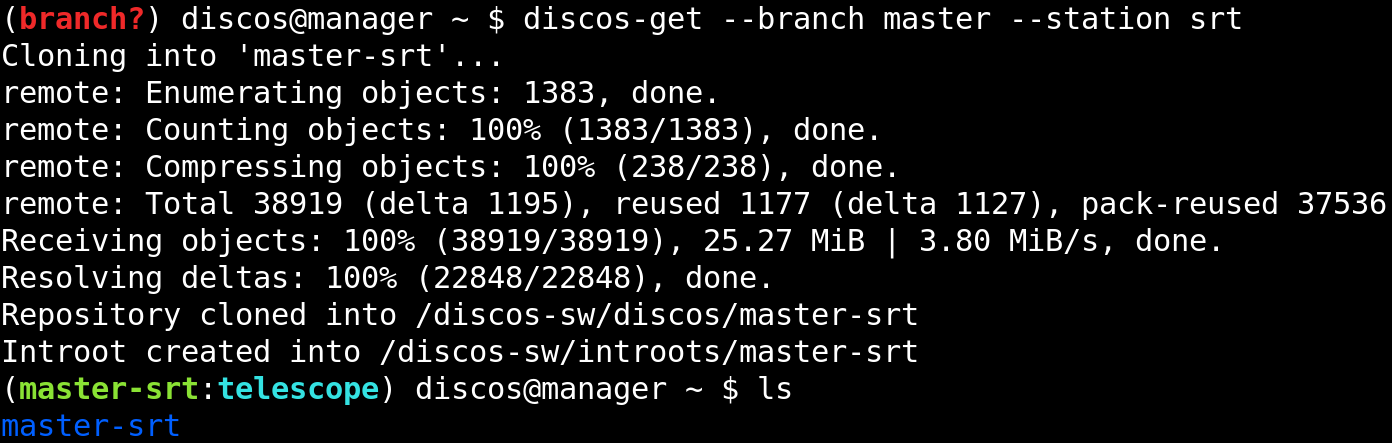
To download the DISCOS control software, you can use the discos-get command,
covered in the Get a DISCOS branch section.
Once the download of the repository is completed, you have to perform the setup procedure like we have seen in the Install DISCOS section.

Automatic setup
You can let the deployment procedure perform the DISCOS control system setup
for you by specifying the --branch argument to the discos-deploy
script, followed by the branch name you want to deploy and install. Since the
procedure will internally call the discos-get script for you, if you are
deploying in a development environment, you also have to provide to the script
the --station argument, followed by the name of the desired station.
$ discos-deploy discos:development --tag discos1.0-rc02 --station noto
You can choose a station among medicina, noto and srt.
The discos-get command gets executed on all machines of the system at the
same time.